Focus and Exposure
Adjusting Focus and Exposure Manually
Focus and Exposure Adjustments
Adjusting focus and exposure on iPhone is straightforward and intuitive, involving three main actions: tapping, swiping, and long-pressing. In most cases, we don’t need to worry about exposure and focus; we can simply take the photo. However, for certain scenes and needs, adjustments are necessary.
Focusing
In regular shooting distances, objects far from the lens appear uniformly in focus, with no clear distinction between sharp and blurred areas.

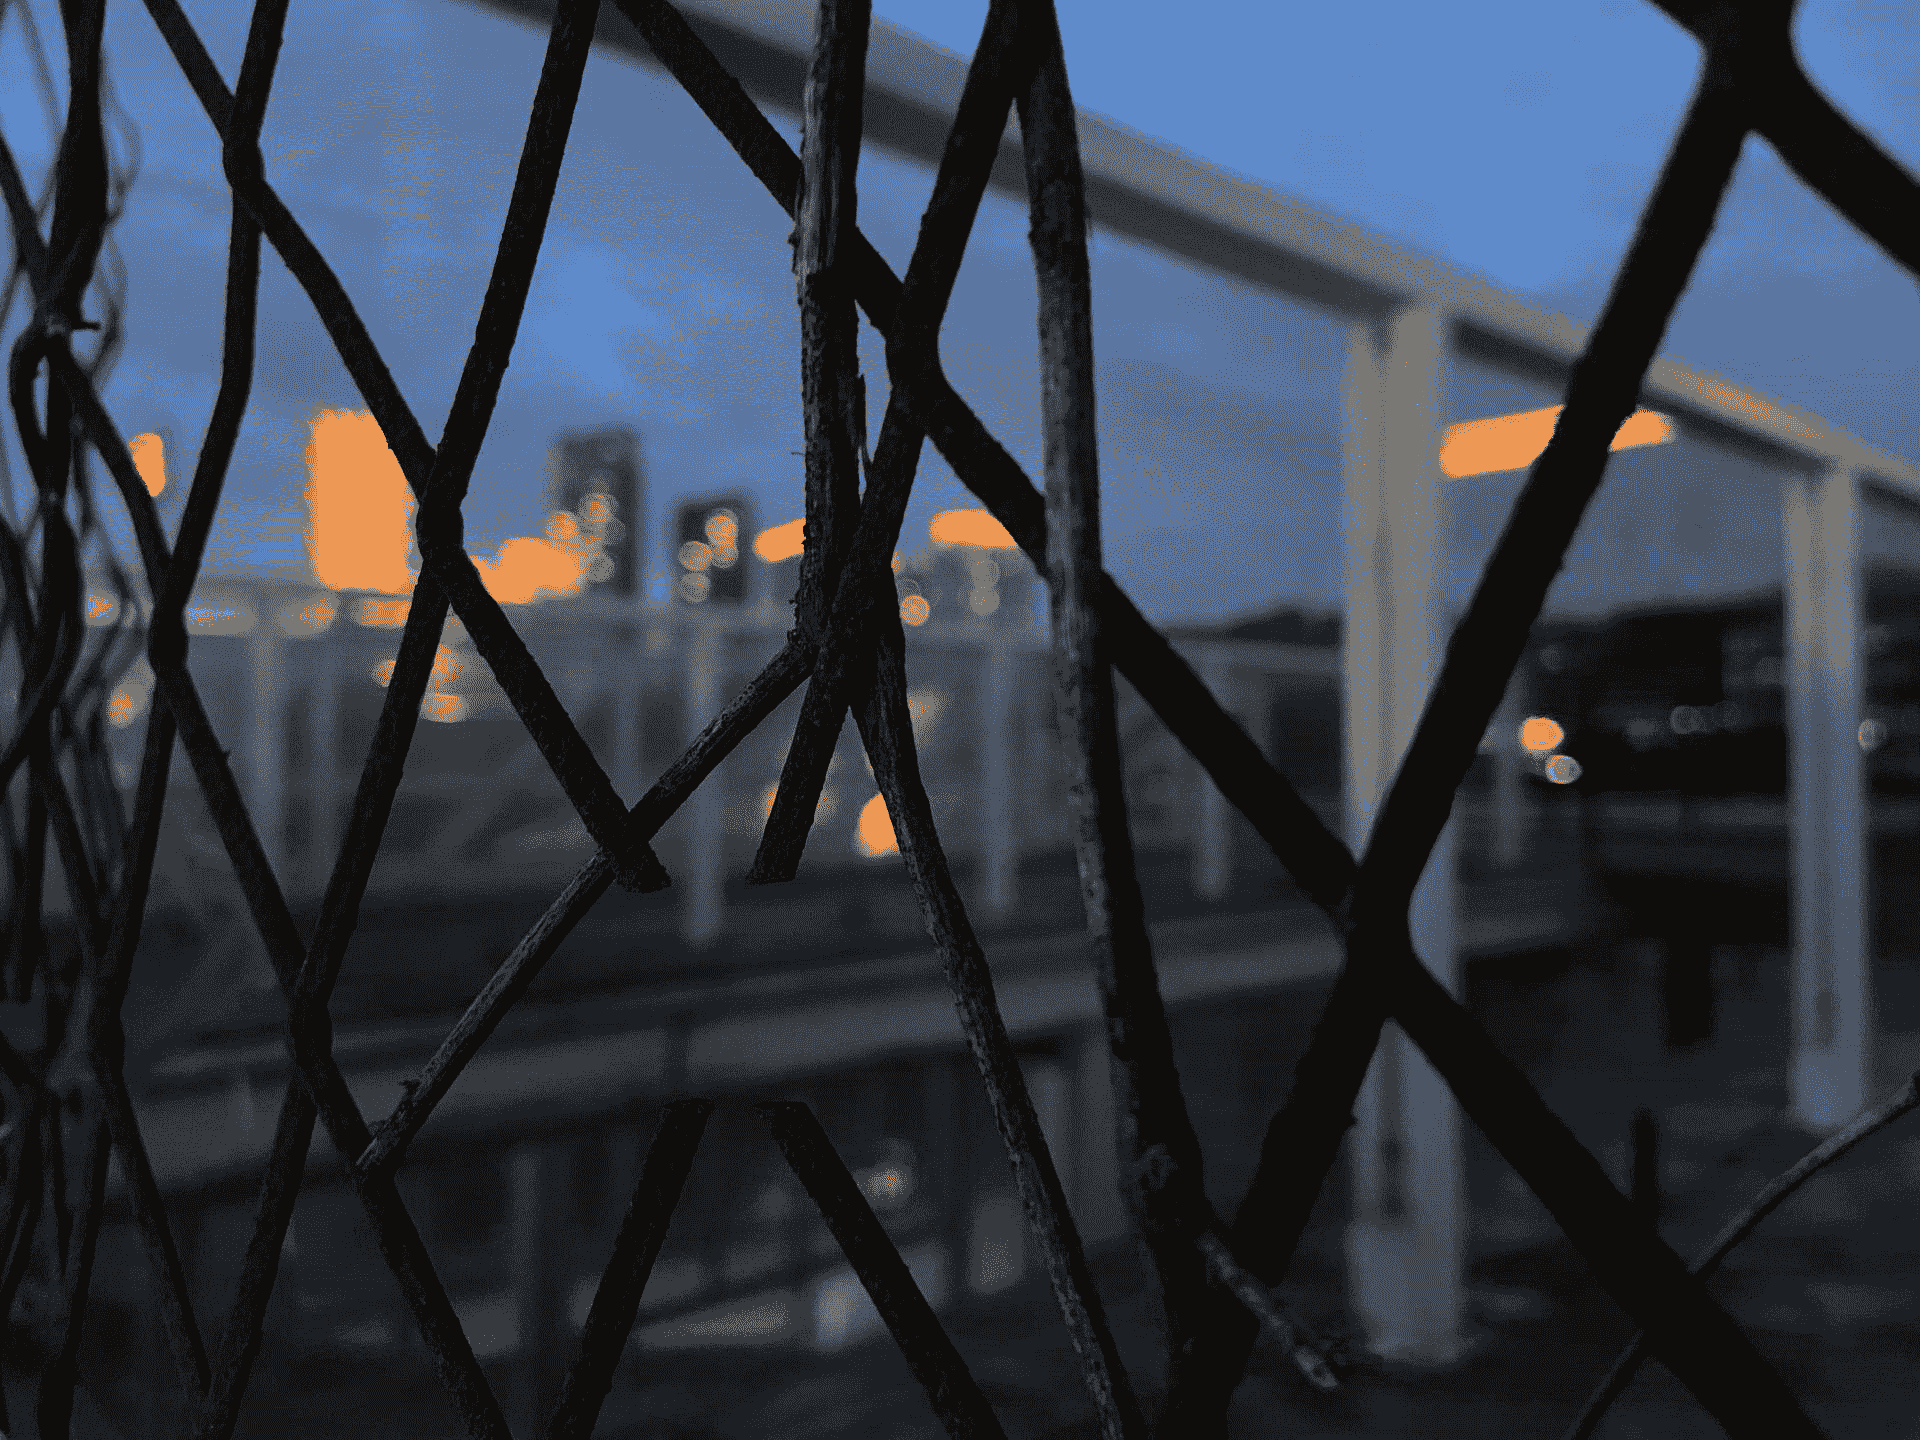
When I move closer to a wire fence and tap the screen to focus on the fence, the fence becomes sharp, and the distant buildings in the background are blurred.
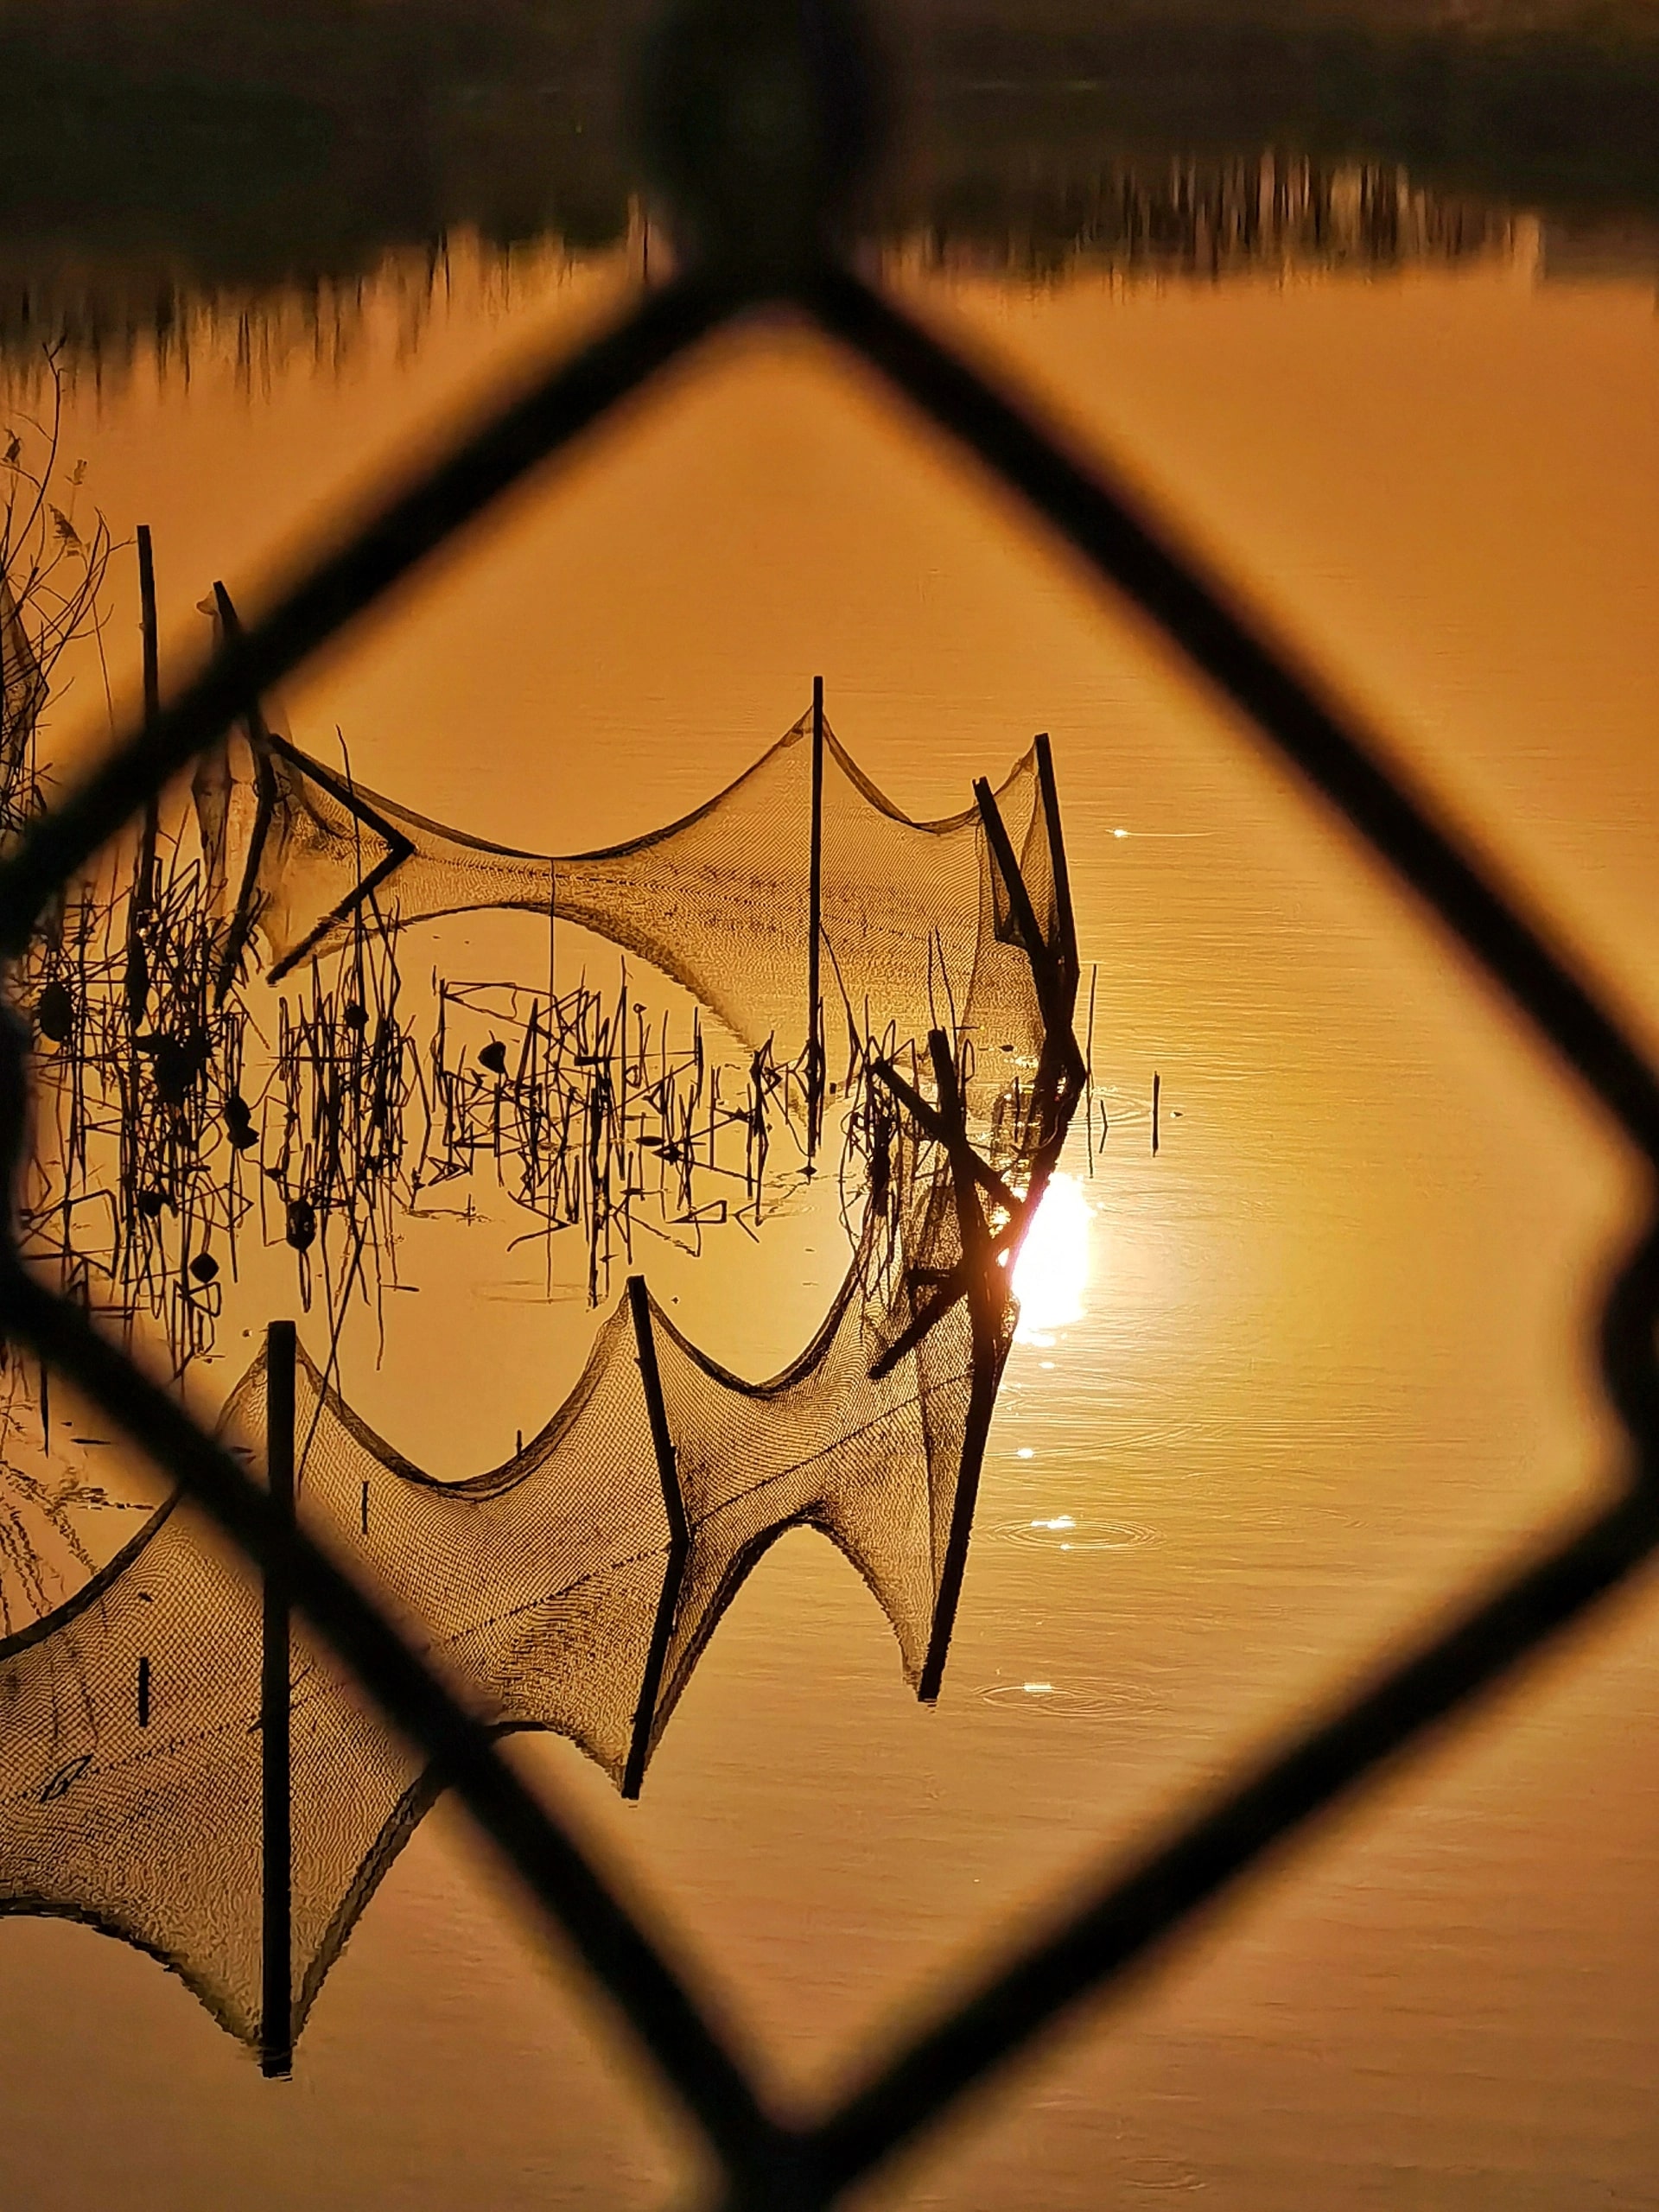
Here’s an example of the opposite

Tip: For users, we just need to know know that tapping focuses on that area, and the closer the subject, the more pronounced the blur effect.
However, every lens has a minimum focus distance; if you are closer than this distance, focus cannot be achieved.
Exposure
When you tap the screen to focus, the camera also measures light (metering), which affects the final exposure. Without tapping the screen, the camera uses multi-zone metering, basing exposure on the entire scene’s brightness. When you tap the screen, it switches to spot metering, basing exposure on the brightness of the tapped area.
If I take a photo without any adjustments, the camera bases exposure on the entire environment’s brightness.

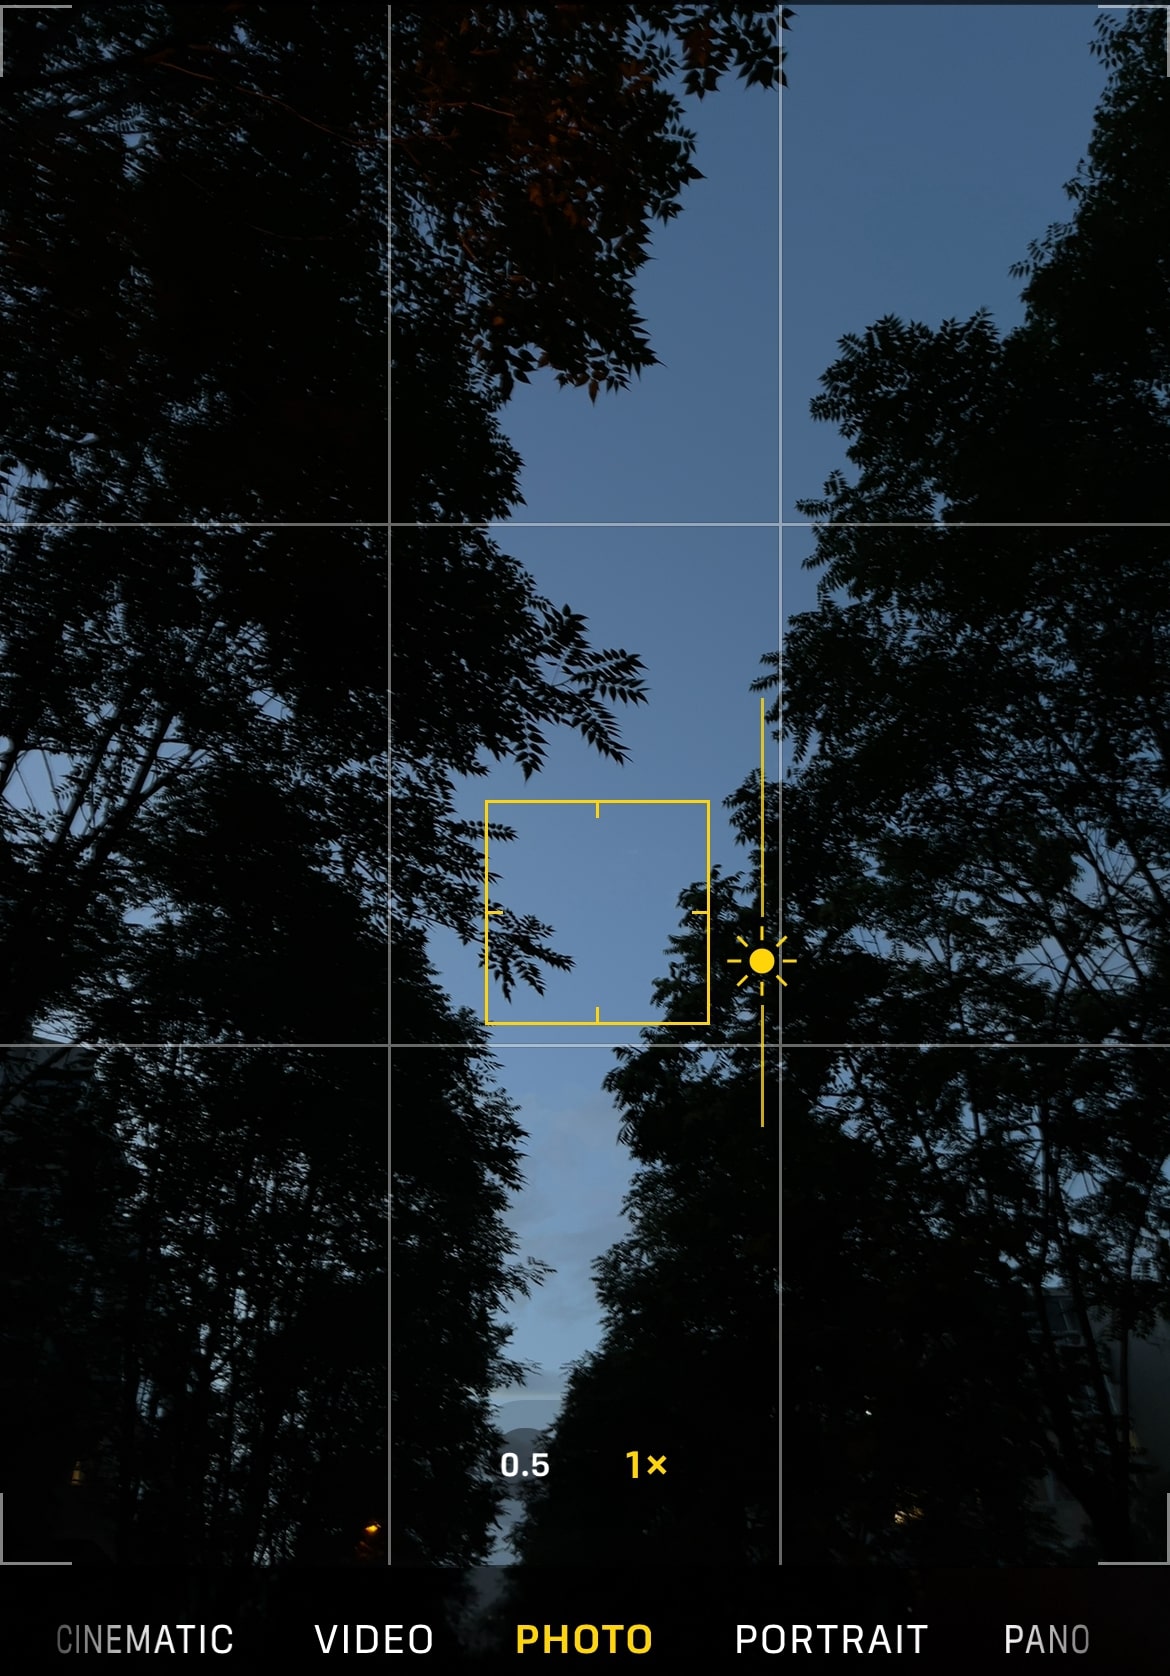
When you tap the screen, a small square appears, often accompanied by a small sun icon next to it. This is the exposure adjustment slider. Swipe up or down to adjust exposure. For instance, to create a silhouette effect, I lower the exposure by swiping down, making the sky darker while the trees appear as silhouettes.
HDR (High Dynamic Range)
HDR is a feature available on almost every device. When enabled, the camera takes multiple shots with different exposures and combines them into one image, enhancing both shadow and highlight details. The resulting photo will not have overexposed areas or silhouette effects.
HDR relies on the device’s capability. Older iPhones used to save both HDR and non-HDR photos to prevent errors. In the latest iPhones, Apple has removed the option to save non-HDR photos, showing confidence in their Smart HDR feature, which indeed performs well and rarely fails.
How to Adjust Focus and Exposure on Your iPhone
- Open Camera App: Launch your camera app.
- Tap to Focus: Tap on the screen where you want to focus.
- Adjust Exposure: After tapping to focus, use the sun icon slider to adjust exposure by swiping up or down.